IIS - Hosting Multiple HTTPS Websites on a Single IP Address
A guide on how to host multiple SSL/TLS websites on a single IP address using Server Name Indication (SNI) in IIS 8.0 and later.
IIS 7/7.5 (EOL 2016)
Products that no longer receive updates.

Overview
Traditionally, every SSL certificate required its own unique IP address because the SSL handshake occurred before the HTTP Host header was sent. Server Name Indication (SNI) resolves this limitation by including the hostname as part of the TLS handshake, allowing the server to present the correct certificate without requiring a dedicated IP per domain.
This guide explains how to configure multiple HTTPS websites on the same IP address in IIS.
Prerequisites
- Windows Server 2012 or later with IIS 8.0+ (full native SNI support). Note that IIS 7/7.5 on Windows Server 2008 does not support SNI natively.
- Separate SSL certificates for each domain, or a SAN/Wildcard certificate covering all domains.
- Administrator access to the server.
Step 1: Understanding SNI (Server Name Indication)
SNI is a TLS extension (RFC 6066) that enables the client to specify which hostname it is attempting to connect to during the TLS handshake. All modern browsers and operating systems support SNI:
- All versions of Chrome, Firefox, Edge, and Safari (from approx. 2010 onwards)
- Android 4.0+, iOS 4+
- Windows XP with IE 8+ supports SNI (though XP is now end-of-life)
The only real exceptions are legacy clients like Internet Explorer 6 or Windows XP with IE 7 and older, which do not send SNI. If you still need to support these clients, you must use unique IP addresses.
Step 2: Import certificates for all domains
Each domain you intend to host with HTTPS must have a valid certificate installed on the server:
- Open IIS Manager → click the server name → Server Certificates.
- Import each certificate using Complete Certificate Request (if the CSR was generated on the server) or Import (if you have a PFX file).
- Assign a unique and descriptive Friendly name to each certificate (e.g.
site-a.dk 2026,site-b.dk 2026).
Alternative: Use a SAN certificate (Subject Alternative Name) or a Wildcard certificate that covers all your domains. This allows you to manage everything with a single certificate.
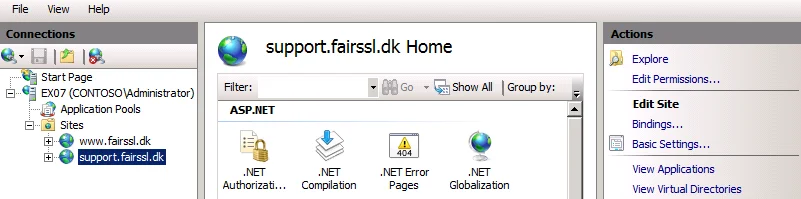
Step 3: Create HTTPS bindings with SNI
For each website:
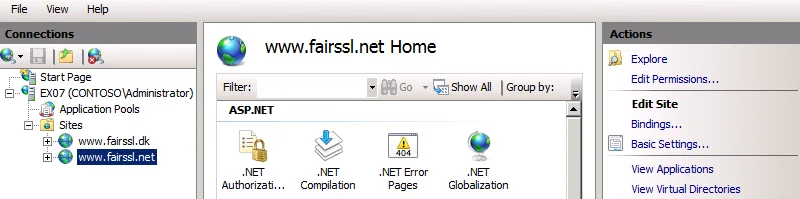
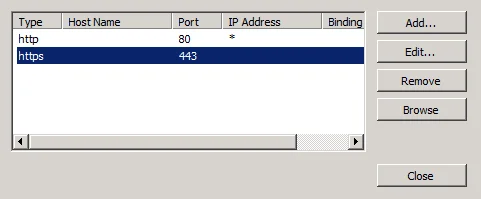
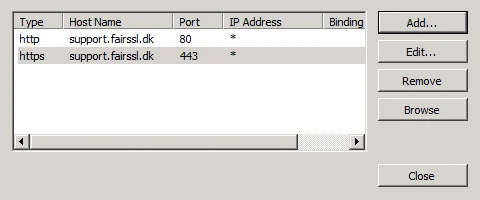
- Select the website in IIS Manager → click Bindings in the right-hand panel.
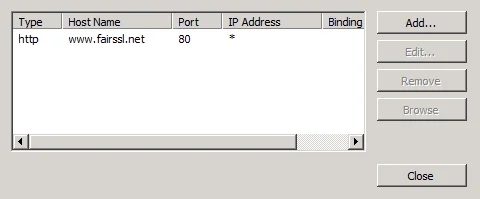
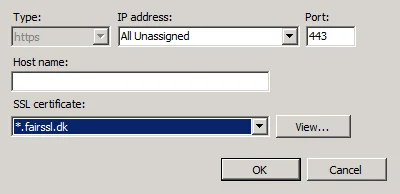
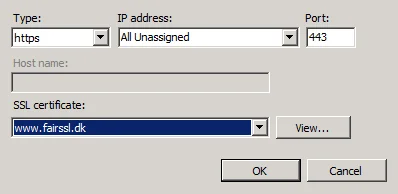
- Click Add and configure the following:
- Type: https
- IP address: All Unassigned (or the shared IP)
- Port: 443
- Host name: The full domain name (e.g.
site-a.dk
)
- Tick Require Server Name Indication
- SSL certificate: Select the correct certificate for this domain
- Click OK.
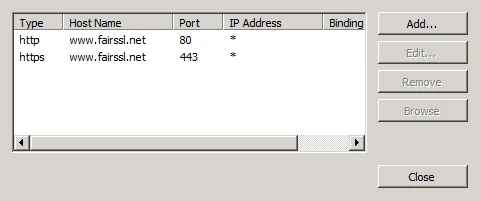
- Repeat these steps for each website, using its specific hostname and certificate.

Step 4: Configuration via Command Line (Advanced)
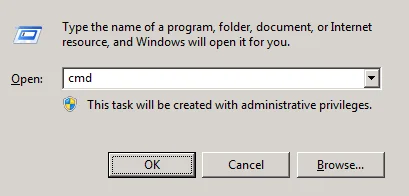
You can also configure SNI bindings using the appcmd
:: Tilfoej HTTPS-binding med SNI for site-a.dk
appcmd set site /site.name:"SiteA" /+bindings.[protocol='https',bindingInformation='*:443:site-a.dk',sslFlags='1']

:: Tilfoej HTTPS-binding med SNI for site-b.dk
appcmd set site /site.name:"SiteB" /+bindings.[protocol='https',bindingInformation='*:443:site-b.dk',sslFlags='1']

:: Vis alle bindinger
appcmd list site
The value sslFlags='1' enables SNI. A value of 0 would require a unique IP address.
Step 5: Verification and Testing
- Open each domain in a web browser and verify that the correct certificate is presented.
- Use OpenSSL to test SNI from the command line:
:: Test that the server returns the correct certificate for each domain
openssl s_client -connect din-server-ip:443 -servername site-a.dk
openssl s_client -connect din-server-ip:443 -servername site-b.dk
Step 6: Common Pitfalls
- Wrong certificate displayed: Double-check that the Host name is entered correctly in the binding and that the SNI checkbox is ticked.
- "Require Server Name Indication" missing: You are likely running IIS 7 or 7.5, which does not support SNI natively. You should upgrade to IIS 8+ or use dedicated IP addresses.
- Wildcard + specific certificate: If you have bindings for both
*.example.dk
and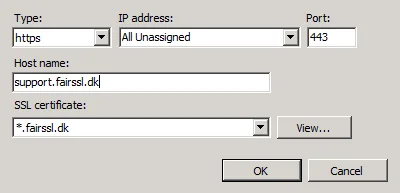
www.example.dk, IIS will prioritise the most specific match. - Default site: It is good practice to have one site with a binding that does not require SNI, acting as a fallback for the few legacy clients that lack SNI support.
Strengthen your TLS security
Use IIS Crypto to easily configure secure TLS protocols and cipher suites on your Windows Server.
IIS Crypto TLS configuration guide